When you first create an account, you will be prompted to create a workspace. Depending on your subscription plan, you may have the option to create multiple workspaces. Follow these steps to create a workspace:
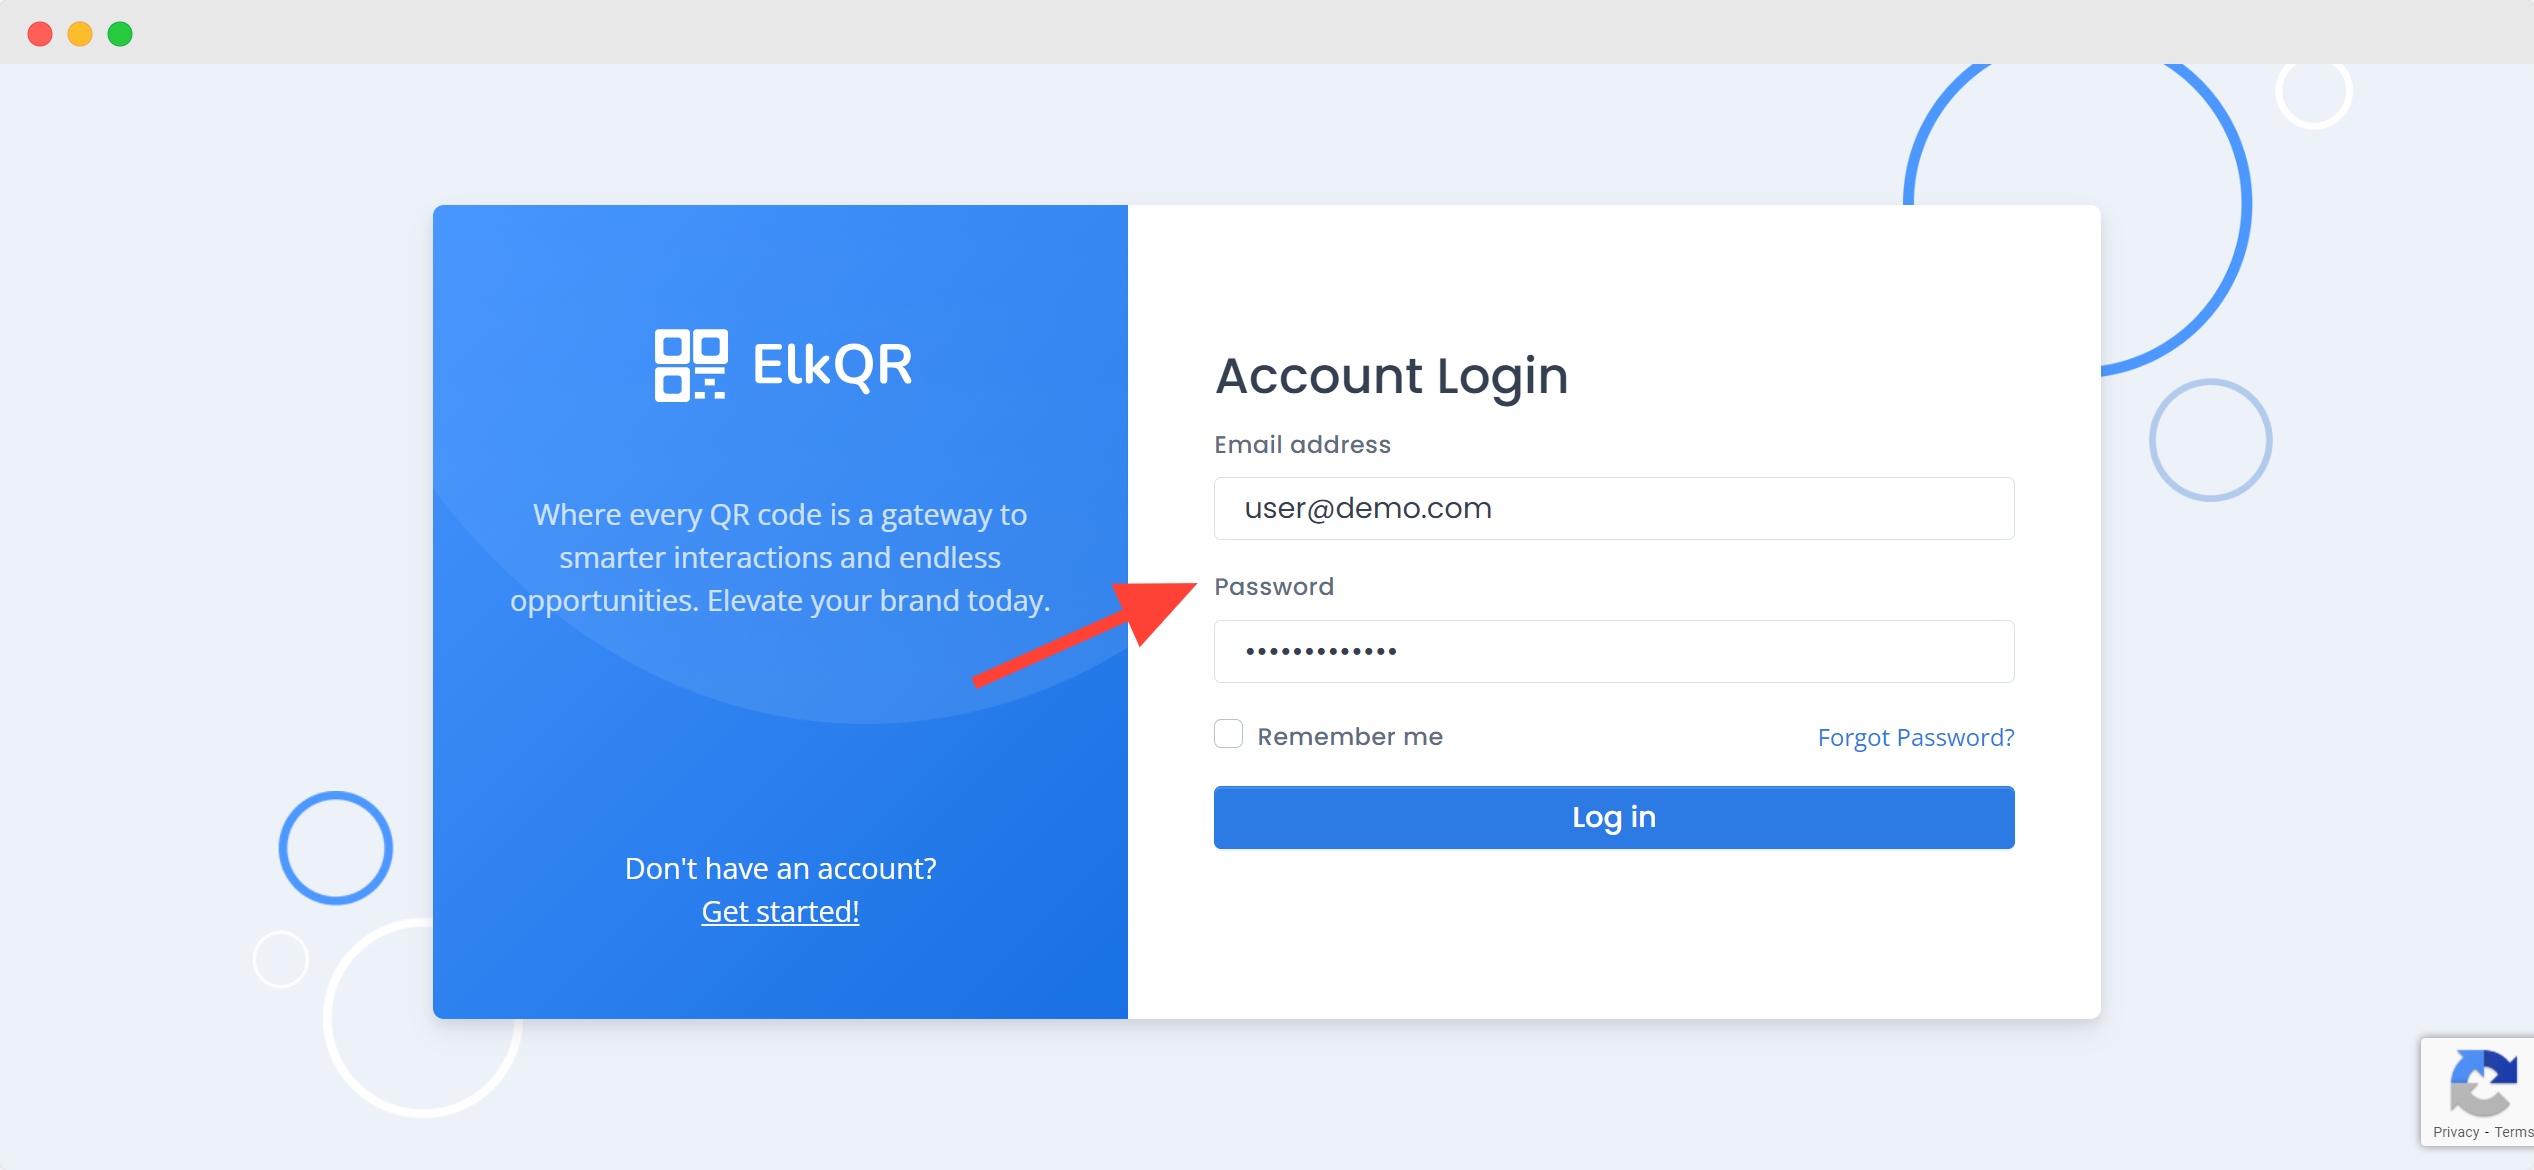
1. Log into Your ElkQR Account: Access your account by entering your credentials.

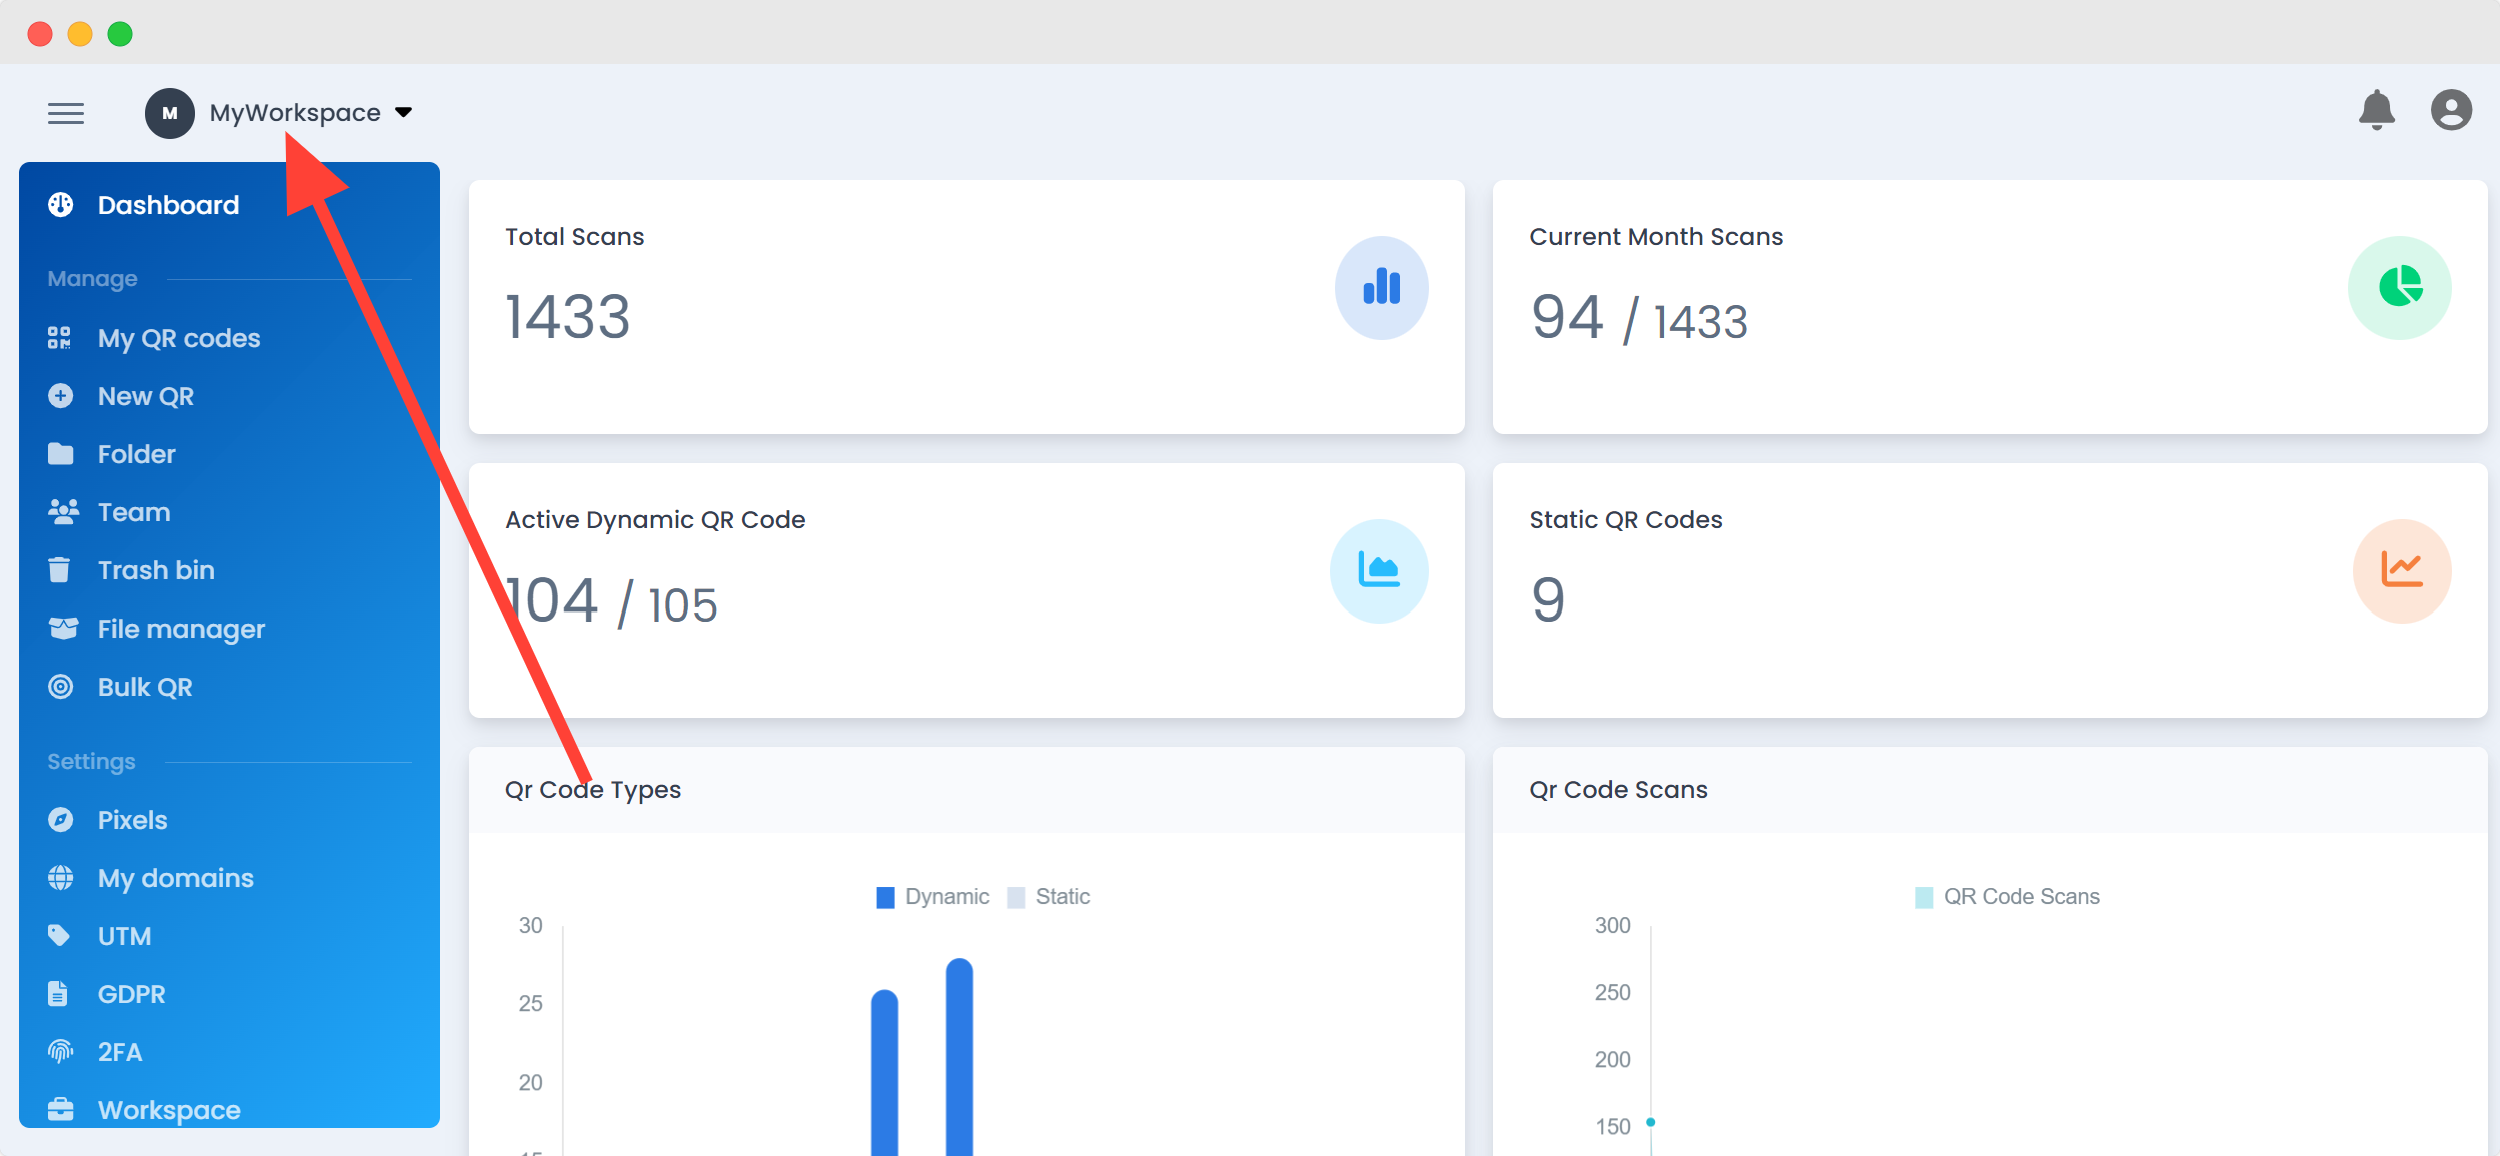
2. Access the Workspaces Menu: Click on the dropdown menu at the top left of the screen that displays the workspaces.

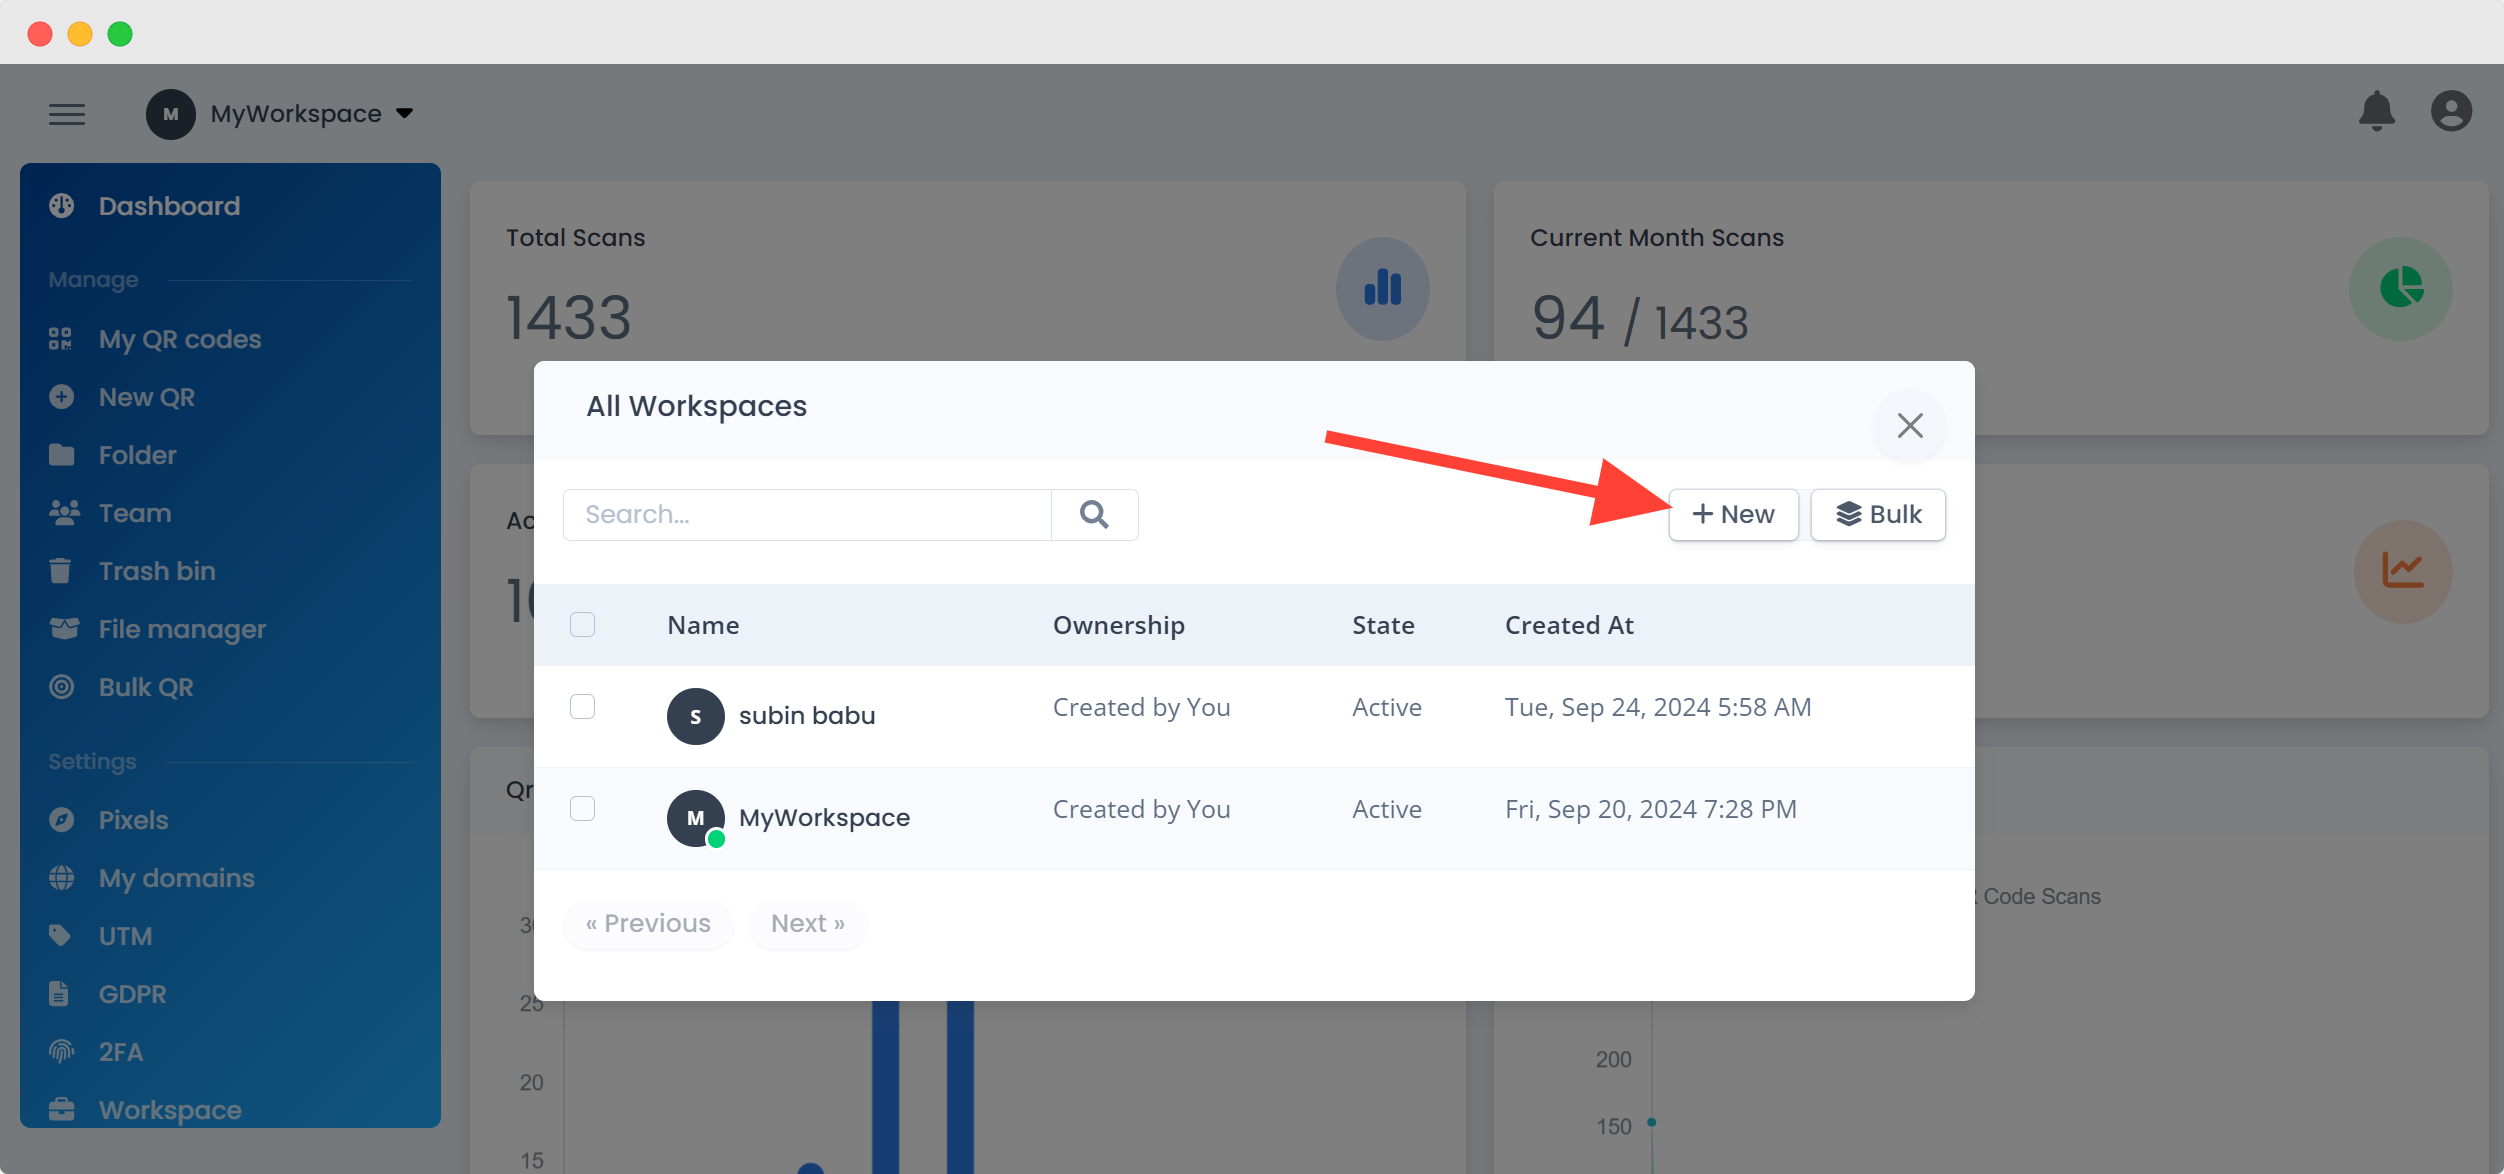
3. View Existing Workspaces: You will see a list of your existing workspaces. To create a new workspace, click on “New.” You can also create multiple workspaces in bulk if your plan allows it.

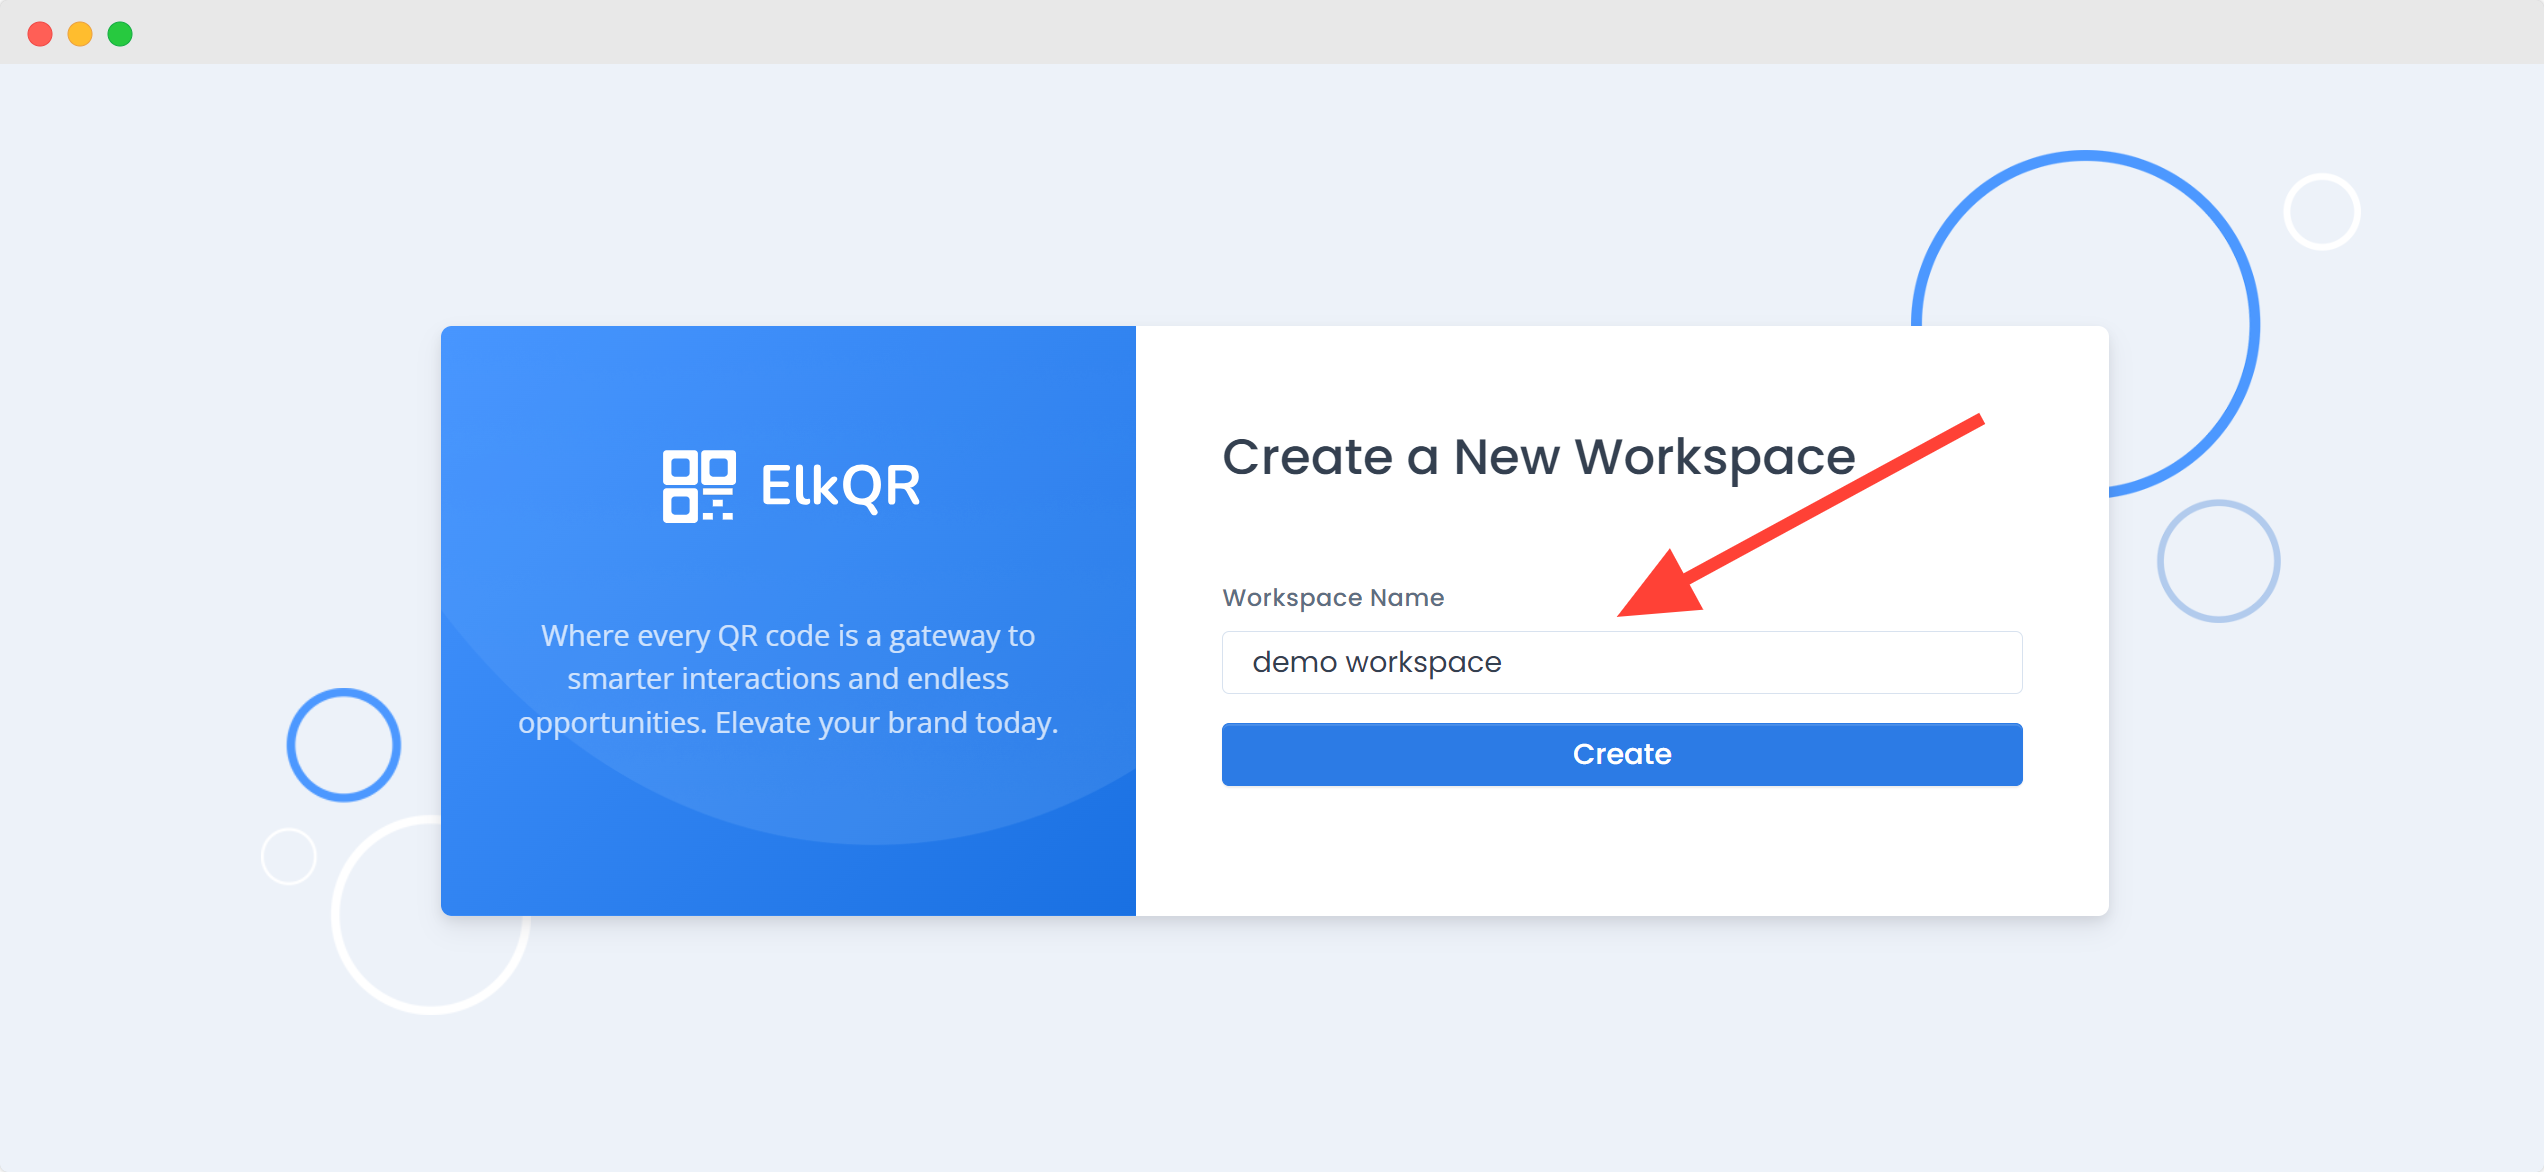
4. Create a New Workspace: After clicking “Create a New Workspace,” you will be prompted to enter a name for your workspace. Provide the desired name and click “Create.”

Your new workspace will now be created and ready for use.
